Introduction to Bot Integration in Playroom
Playroom now lets you add bots to your games. Customize them to fit your game's style and elevate game experience!
Bot Overview
With Playroom's SDK, you can easily create bots tailored to your game's unique mechanics and dynamics.
How Bot Integration Works
1. Import and Extend the SDK's Bot Class
Start by importing the 'Bot' class from the 'playroomkit'
import { insertCoin, onPlayerJoin, Bot } from 'playroomkit';Simply extend the Bot class to create your bot. Since bot is essentially a player, you can utilize all methods from the PlayerState API Reference. Ensure you receive botParams in the constructor and pass it to super().
class YourBot extends Bot {
    // Implement your bot logic and methods here

    // Sample Bot Code
    constructor(botParams) {
        super(botParams);
        this.setState("health", 100)
    }

    // A simple method for the bot to take action based on some game state
    decideAction() {
        const gameState = this.getState("gameState")
        if (gameState.enemyNearby) {
            return 'ATTACK';
        }
        return 'MOVE_FORWARD';
    }

    // Receive damage and reduce health
    takeDamage(damageAmount) {
        let currentHealth = this.getState("health")
        this.setState("health", currentHealth-damageAmount)
    }

    // Check if the bot is still alive
    isAlive() {
        return this.getState("health") > 0;
    }
}
2. Define Your Bot with the SDK
Once your bot class is ready, use the insertCoin() method provided by the SDK to pass your bot type and its parameters. This step allows the SDK to recognize your bot.
await insertCoin({
  ... other parameters,

  enableBots: true,   // Indicates to the SDK to activate bot functionality

  botOptions: {
    botClass: YourBot,  // Specifies the bot class to be utilized by the SDK

    // OPTIONAL: You can define custom attributes in the botParams object if you need them during bot initialization.
    // Sample botParams
    botParams: {
      health: 100
    }
  },
})
The code above recognize bots in your game. It will provide botParams to your botClass. Here's how you'd use botParams in your constructor:
class YourBot extends Bot {
    // Implement your bot logic and methods here

    // Sample Bot with botParams Code
    constructor(botParams) {
        super(botParams);
        this.setState("health", botParams.health)
    }

    // Rest of your implementation
}
3. Initialize Your Bot in the Lobby
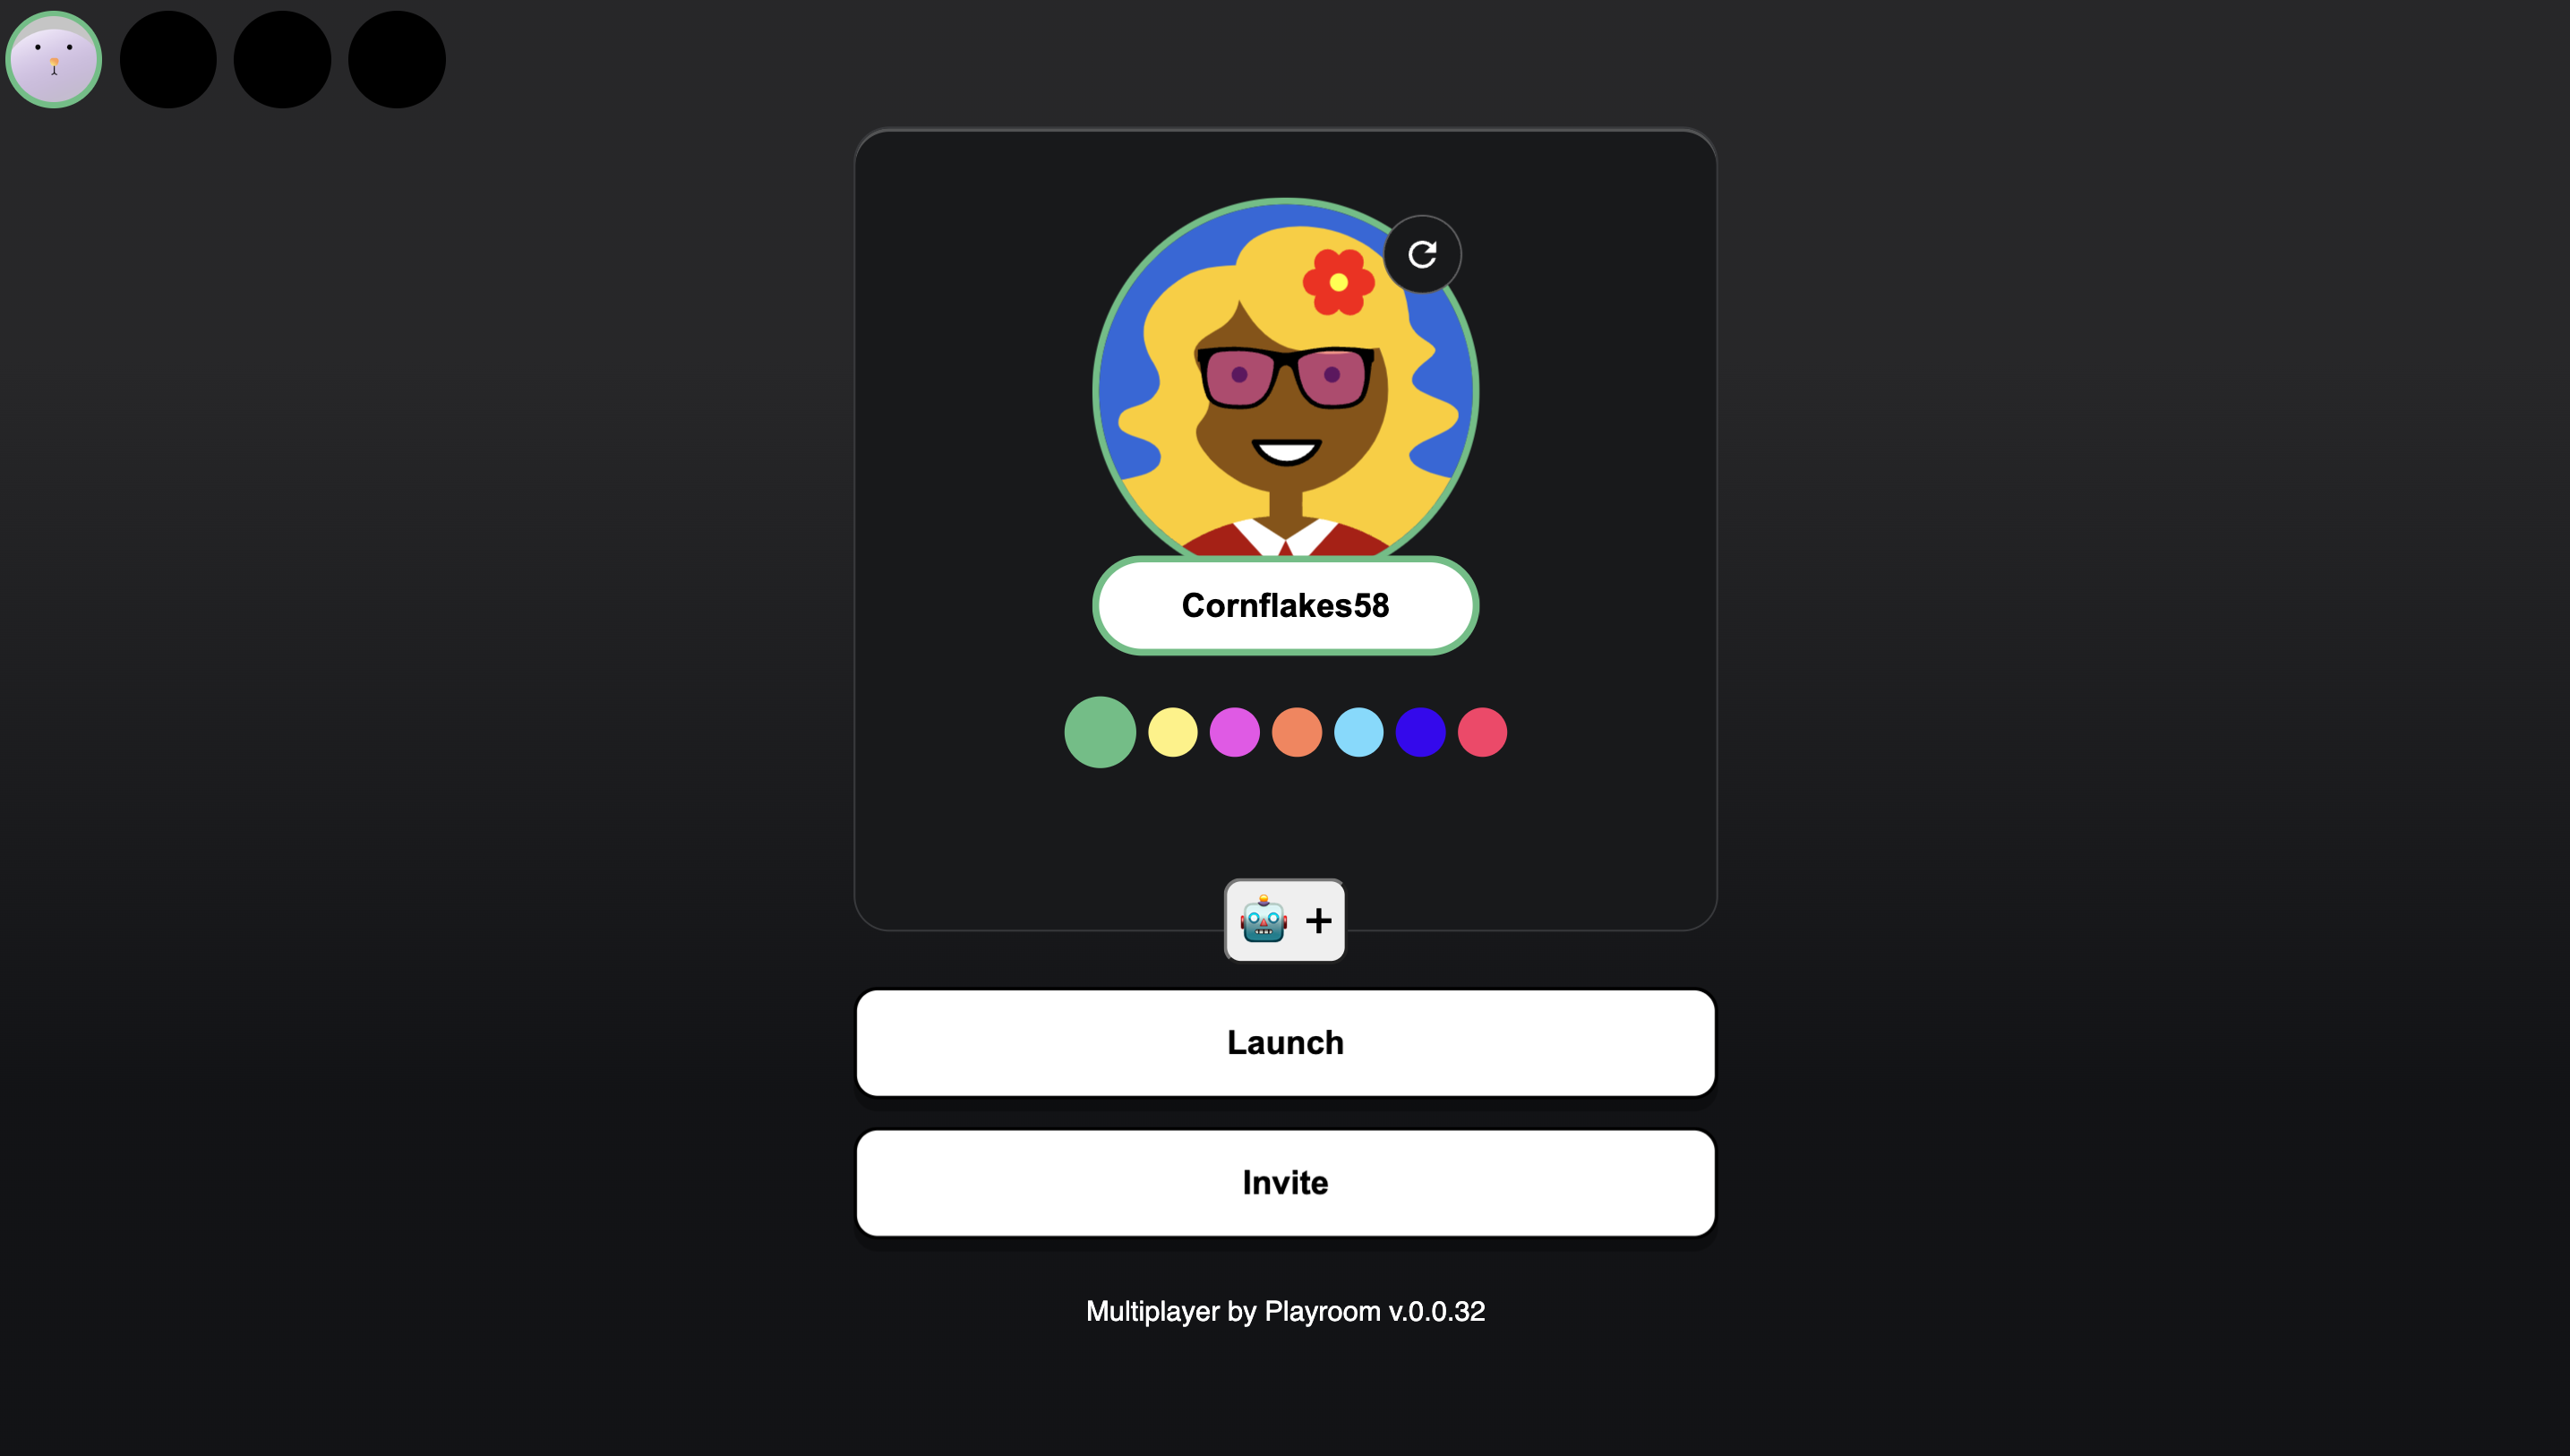
Once you have defined your bot with the SDK, you can initialize your bot by simply pressing '🤖 +' button

4. Integrate Bot into the Game Loop
After initialization, the player.isBot() method allows you to check if a player is a bot or a human player. You can use this information to integrate your bot's actions within the game loop, ensuring that it interacts with the game environment as intended.
players = []

onPlayerJoin(async (player) => {
    // Custom logic for handling player join events.

    // Appending player to players array in order to access it within gameloop
    players.push(player);
});

function gameLoop() {
    // Custom Logic

    for (const player in players) {
        // Custom Logic

        // Bot usage
        if (player.isBot()) {
            // Logic to make the bot act within the game loop

            // Sample implementation
            if (!player.bot.isAlive()) { return }

            const action = player.bot.decideAction()
            if (action === "ATTACK") {
                // Attack Logic Here
            }

            if (action === "MOVE_FORWARD") {
                // Move Forward Logic Here
            }

            // Game mechanics

            // Updating the damage taken
            player.bot.takeDamage(damageAmount)
        }
    }
}